Showing posts with label chiridar. Show all posts

Wednesday, February 5, 2014

Legging stitching method

The legging is simple and easy to stitch. I have already detailed the legging drafting in my previous post . This  material is not stretchable so I stitched it a little bit loose for my convenience.

To begin with, Take the measurements seat/4+ 3 inch.

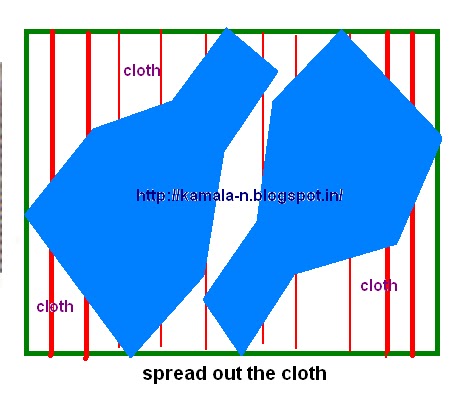
Fold the cloth such that you obtain 4 layers according to the seat measurements.
Mark the length ( see the draft)  .  Mark the shape of legging at the open  side.
Mark  2.5" down from top of the edge for waist belt.( my waist belt is 1" i have taken double of the belt size + 1/2" for folding inside) from there measure down the full length and mark(G-H). and again mark 1" down for folding.
Mark 3/4" from the open side as A-C in fig. 1
 Mark the crotch (seat/3) B-D then draw  line to  connect  C.
As fig E-F shows the knee circumference and G-H ankle circumference + 1".  draw the slightly curved line from crotch to ankle as in fig and cut along the line.
    fig 1
  1. fig 2 
Fig 2.     I attached the gore pieces at the crotch point according to my comfort. if you wish to attach cut the gore  in 2 pieces,otherwise no need.  
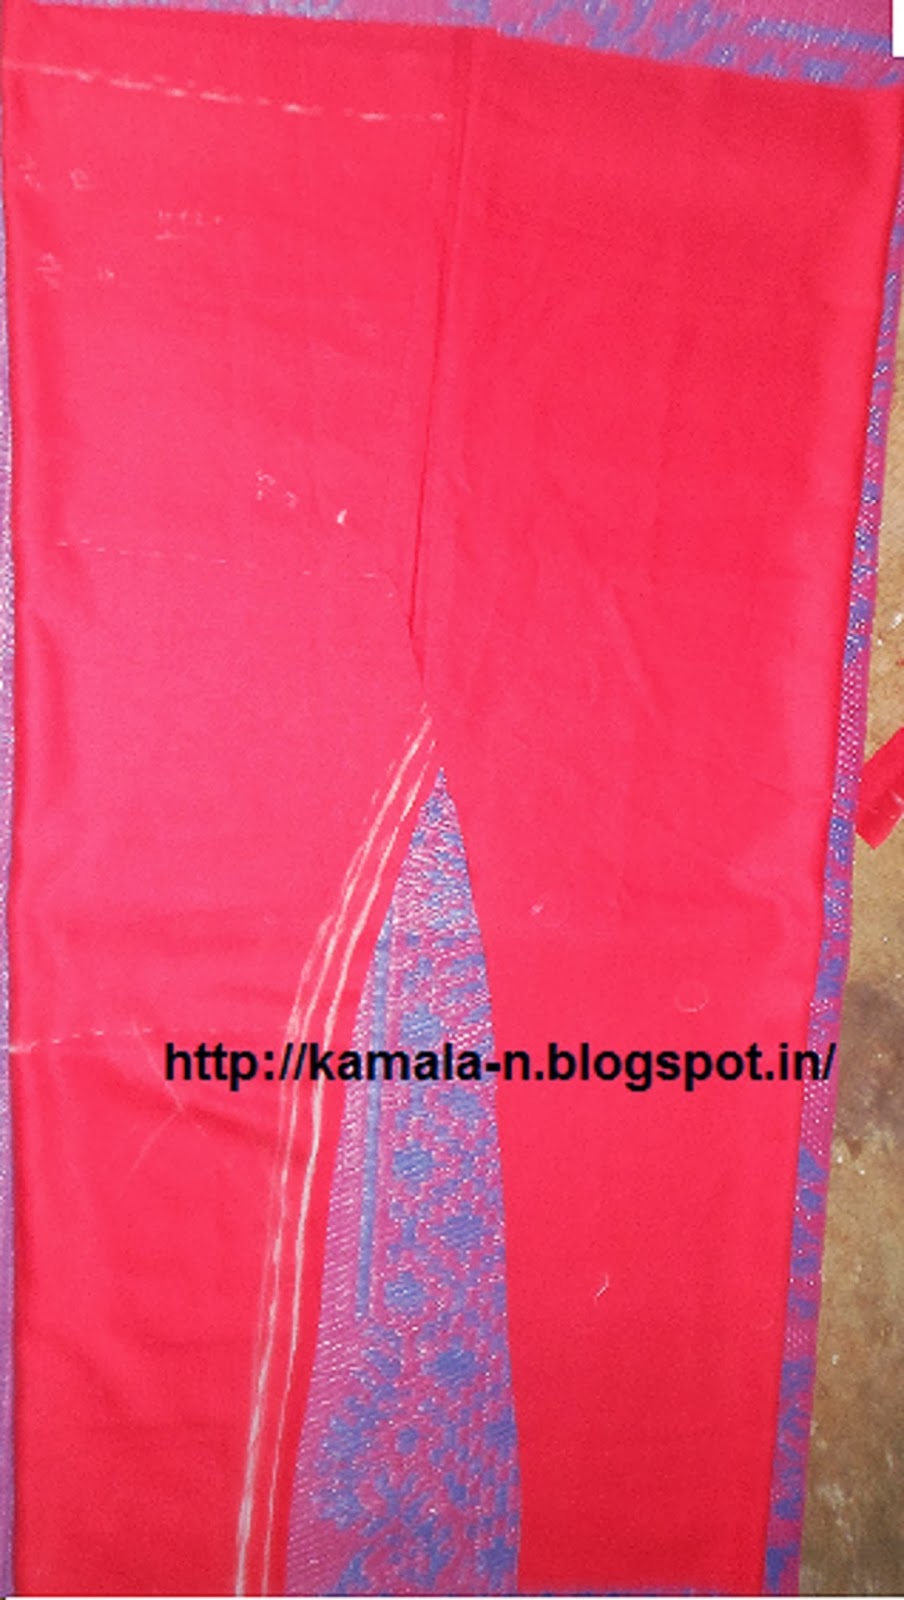
 After cutting the fabric you obtain this shape.


Attach the gore at the crotch point on the right side of the (both right sides are together)  one leg piece as fig.4  and attach another edge of the gore to another leg piece as i draw the line which indicates no 1 and 2 in fig. 5 then from there where the no 2 indicates you have to stitch both leg pieces together until top of edge. see fig 6, 7 and 8
fig 4
fig5
fig6
fig7
fig8
fig9
After attaching the crotch shape the legging looks as in fig 9,10
Sew the bottom folding first fold the edges by 1/2" and  turn them again by another 1/2"and sew  along the fold . The bottom fold is 1/2" width.
sew the edges of the leg piece together with 1/2" seam allowances from  one leg piece bottom edge  to another leg  piece bottom edge.
fig11
Now moving to the waist band ; you first fold the raw edge  to the wrong side of the casing by 1/2",   as in fig 11.
Again fold by casing  width which you desired  as in fig 12 and  stitch  around and leave 2" for insert the elastic as in fig 13.

fig11
fig12
fig 13
Fig 14 ,15 shows the  the elastic inserting the casing, pin the elastic one ending and insert the pin  and pushing it through  the casing


When you push the pin  inside the casing you will see that it makes more ruffle,push the pin until the elastic comes outside ,  stitch the both elastic edges together and stitch the casing open. 
I have stitched one line around over the elastic casing.  
  
fig 15


Finally the legging is over


Wednesday, May 29, 2013

How to make your own Churidar pyajamma

Churidar is an ethnic wear worn by most Indians and Pakistanis. Its length is more than the actual length to fall into gathers at the ankle. It fits tightly from below the knee to ankle. It is looks excellent with a tunic, kurta or a sharwani. It is better to cut the fabric on the bias to get a stretchy and nice fit below the knee.

Bias cut churidar 

In this method the pattern is cut on the bias (45 degree angle). You can draw the measurements     directly on the cloth (see fig. 3)  or you can make a paper draft  first and then place it on the cloth in bias (See fig 2).  Blue color indicates the pattern.


Measurements needed:-


Seat (hips) width.
Waist to floor ( length)
Thigh
Crotch
Knee circumference.
Ankle circumference.

Pattern Drafting:-

Length                  =           actual length (waist to floor) - 6 inches for belt (another piece)  
  
0- 6                         =           length + extra length for gathers
1- 3 , 6-10, 7-11    =           mark   1/2 the ankle circumference and draw a horizontal line 
6 -1                         =           for bottom folding 1" inch
6 - 7                        =           mark 10" or 12 "  inches for gathers (or as much as you wish)
0 - 7                        =           length (belt 6 inch excluding)
0 - 9                        =           1/4 of seat  + 4 inch (crotch)

8                             =           mid-point of  9 (crotch) and 7  = knee point

8 - 12                     =           half of circumference of knee
9 - 4                        =          1/4 of seat  + 4 (thigh)
4 - 2                        =          1 inch towards the inside
2a - 2                      =           vertical line                   

Join 3, 10, 11, 12, 4 & 2  shape out as shown in the fig.A.


The outer blue line shows 1 inch for seam allowance, that is 3 to 5

   For waist belt : hip measurement + 6 inch as width and length 8.5 inches (6 inch + 1/2 inch seam allowance + for casing to insert the drawstring or elastic).


                              fig 2


 The above fig (3) shows how to fold the cloth and how to mark the measurements on the cloth. The red lines indicate the folding of the cloth on bias.The green lines indicate the edges of the cloth. The space between blue and violet color lines indicates the seam allowances. Cut along the violet colored line.

We'll talk about the cutting procedure in my next post. 

Tuesday, March 12, 2013

How to make Leggings

Draft a  leggings pattern according to own measurements and sew for you or others.
It is very simple and does not take much time for cutting and sewing. I hope this tutorial will help you in  making your own leggings. you can sew for your kids also with their measurement. This  is simple legging.

Pattern Draft 
     
 The measurements that you need :-
  
   Seat -  (width)
   Length 
  Circumference of the ankle

 AB = CD = Seat/4 + 1.5 inch  or 2 inch
 AC =  BD = Length + 3.5 inch
 AH  = 3/4 inch
 JG =  Seat/3 ( Crotch )
AJ  = BK = 1.5 inch ( for belt )             
 CE =  BD = 1 inch ( for folding )
 DI = Half round of the ankle measurement + 1/2 inch (ankle)
 These measurements are along with the seam allowance. 
If you want little gathers you can add 4 to 5 inch to length.
Cutting 
Fold the cloth twice so as to obtain 4 layers according to the width and length measurements.
Mark the crotch length , from crotch point. Draw a line to connect to AB  which is marked 3/4 inch inside that is  "H".
Mark the ankle measurement and join the crotch to ankle by a curved line.
Cut along HG and the curve GI. After cutting, you will obtain a piece somewhat like this.
here is legging stitching .