Showing posts with label kids.. Show all posts

Wednesday, October 14, 2015

Kurti / Straight - Cut Kameez Sewing tutorial


 I have already posted the method of drafting kurti/Straight - Cut  Kameez here is the link drafting tutorial


  Cutting


Fold the fabric according to the hip measurement that is  1/4th of hip + 1.5".and mark the measurements directly on the cloth according to the draft.  

Length                 =               O - L
Neck width          =               O - A
Shoulder              =               O - D
Shoulder drop      =               D - F
Armhole              =               D - E
Chest                   =               From fold to C.
Waist length        =               O-H
Waist                   =                P-Q
hip length            =                O-J
Hip                      =                J-K 

When finished  ,cut along the shape (along the marked scissors in fig 2)
Remember one thing that you have to cut the front and back neckline separately. Also note that you have to cut the front and back armhole separately.  

Fig 2
After cutting, the kameez will look like the one in fig 3.


Fig 3 after cutting 


FIg 4
Cut the sleeves according to the draft. Cut the inner curve shape at the front armhole
(fig 5&6).


Fig 5

Sleeves Fig 6
 First finish the back neckline and front neckline separately.

Fig 7 Back neckline
 Then join the shoulders.

Fig 8 

Sew the back neckline with hand hem or machine stitch. In fig 9 the dotted line indicates hem or machine stitch.

Fig 9

Place center point of the sleeves at the shoulder line (joint) by  keeping right sides together and also matching the armhole front curve to sleeves' front curve. (in Fig 10, O indicates the shoulder joint and N is center of the sleeves) leave 1/2"  from the edge, for seam allowances .
  
Fig 10
Keep pins binding the sleeves to armscye (armhole) and sew along the seam line.  I have shown  the seam line by marking the dots in   the fig 11 .
Fig 11 Sleeves attaching


after attaching the sleeves. 

fig 

fig 13

Join the side edges of the sleeves and right sides of the body together and mark the seam line  by keeping  1" seam allowance from the edge. Start sewing from sleeves and up to slit/side opening.
 (keeping slit length  from hip circumference that is J K  to bottom of the kameez, Repeat the same for the other side of the garment too.
 You can easily understand through the figs 14&15


Fig 14


fig 15 sewed the sides
Fig 16 indicates the slit or opening

Slit opening fig16
Stitch the bottom edge of the kameez by  double folding inside. Stitch the Back and front bottom edges separately.

Slit opening


Stitch the slit from the side edge of the back part to that of the front part, 1/2" above through the joining of the kameez by folding in double towards inside. When you are stitching from back to front, before going to front, stop  1/2" above  where the slit open turn the kameez towards you, stitch across the foldings.

Again turn towards you and start stitching at the end by folding the sides. the images 17,18 and 19 give clear information

Pin over double fold on the back side edge towards the wrong side of the kameez. Start stitching from  bottom to  till 1/2" above of the joining of the sides of kameez,. There, you turn the fabric towards you and stitch across the folding and another side and  turn again and continue stitch until you reach the edge.
Repeat the whole thing for the other side of the garment.
Images 17


image 18

Image 19


Monday, October 5, 2015

Kali Salwar / Panel Salwar drafting

Today, we will learn how to draft a pattern for making a kali salwar/panel salwar. this tutorial is helpful for totally new beginners & novice starters as well as for practiced sewers.

The Kali salwar or panel salwar drafts looks like fig 1.
According to this pattern drafting you can directly cut the fabric.      
fig. 1   Kali salwar draft
Measurements needed for  kali salwar 

HIP/Seat
Length of salwar
Ankle circumference
Crotch            = 1/3rd of hip +2" (total crotch length measurement)


Method of panel / Kali salwar pattern drafting


waist piece

 Draw a straight line from point L to point M  ,that is (1/2 of hip) + 3 1/2"(or 1/2 of (hip +6"+1"))
 L to M, double fold
 suppose your waist is 40"= 1/2 of hip means 20"+3"(it means the  final waist piece should be 46" + 1" (seam allowance))

 If the width that is L M is not sufficient width and then attach  fabric of required width to MN but make sure that the total waist  piece measurement is hip + 6 " as said earlier.

 Again  draw  a straight vertical line downwards from point M  to  Point N such that MN= (1/6 hip) + 2"

 ON is same as LM


Fig 2


Center piece / panel drafting
   
   Fold the cloth in 4 folds in width wise.        
   Draw a vertical line  from point A to point D which will be length    of the salwar minus waist belt.
   Draw a horizontal line form point D to Point C that will be 1/4 of    width of the fabric.
   
   Please note that for children,
   AB =    half of the ankle +1"
fig 3
Side panels 

Take the same measurements as center panel from  point E to point K .
Draw a horizontal line From point E to Point G which will be half width of fabric. 
GI is same as EK.
KI is same as EG.
Measure down from point G to Point H which will be crotch length that is total crotch length+ waist belt/piece.
           
Mark 1" inwards that is point F.Give a curve shape and connect the point H. 
Mark the 1/2 ankle circumference  + 1" seam allowance at the bottom which are Points K J.

Joint the points J H and give little curve shape  inside.

 
                                                                      fig 4

After joining the side pieces to the center piece the salwar leg piece looks the figure below. 


                                                                                 fig5


Cut the center piece and side pieces separately.


Friday, February 7, 2014

Simple Pyjama

pattern drafting;
measurements

Hip circumference
Ankle
length

pattern making; 
                            Fold the cloth in 4 layers and then you take the measurements.
  a-b, c-d           -      1/4 hip measurement + 5"
a-c,  b-d          -      pajama length + 3.5"
j-k                  -      ankle loose + 1" ( it is loose at the ankle so i have taken the measurment
                               6"+1"=7")                     
j-c                  -      folding 1"
a- e                -      waist belt ( double width of the belt ) width + 1/2''
e- j                 -      pajama original  length
b-g                 -      3/4"
f- h                -      crotch/3
the measurements are  including  the stitches.
I have not attached the waist belt separately so my elastic casing is including the pajama measurement which is shown as  marking  'a-e' , if you want to attach the belt separately then you have to take  the length measurement as original length + 1.5 inch ( that is e-c ) and the belt is double the width + 1".  Cut the fabric from bottom to crotch and crotch to g.
The sewing method is same as legging


Wednesday, February 5, 2014

Legging stitching method

The legging is simple and easy to stitch. I have already detailed the legging drafting in my previous post . This  material is not stretchable so I stitched it a little bit loose for my convenience.

To begin with, Take the measurements seat/4+ 3 inch.

Fold the cloth such that you obtain 4 layers according to the seat measurements.
Mark the length ( see the draft)  .  Mark the shape of legging at the open  side.
Mark  2.5" down from top of the edge for waist belt.( my waist belt is 1" i have taken double of the belt size + 1/2" for folding inside) from there measure down the full length and mark(G-H). and again mark 1" down for folding.
Mark 3/4" from the open side as A-C in fig. 1
 Mark the crotch (seat/3) B-D then draw  line to  connect  C.
As fig E-F shows the knee circumference and G-H ankle circumference + 1".  draw the slightly curved line from crotch to ankle as in fig and cut along the line.
    fig 1
  1. fig 2 
Fig 2.     I attached the gore pieces at the crotch point according to my comfort. if you wish to attach cut the gore  in 2 pieces,otherwise no need.  
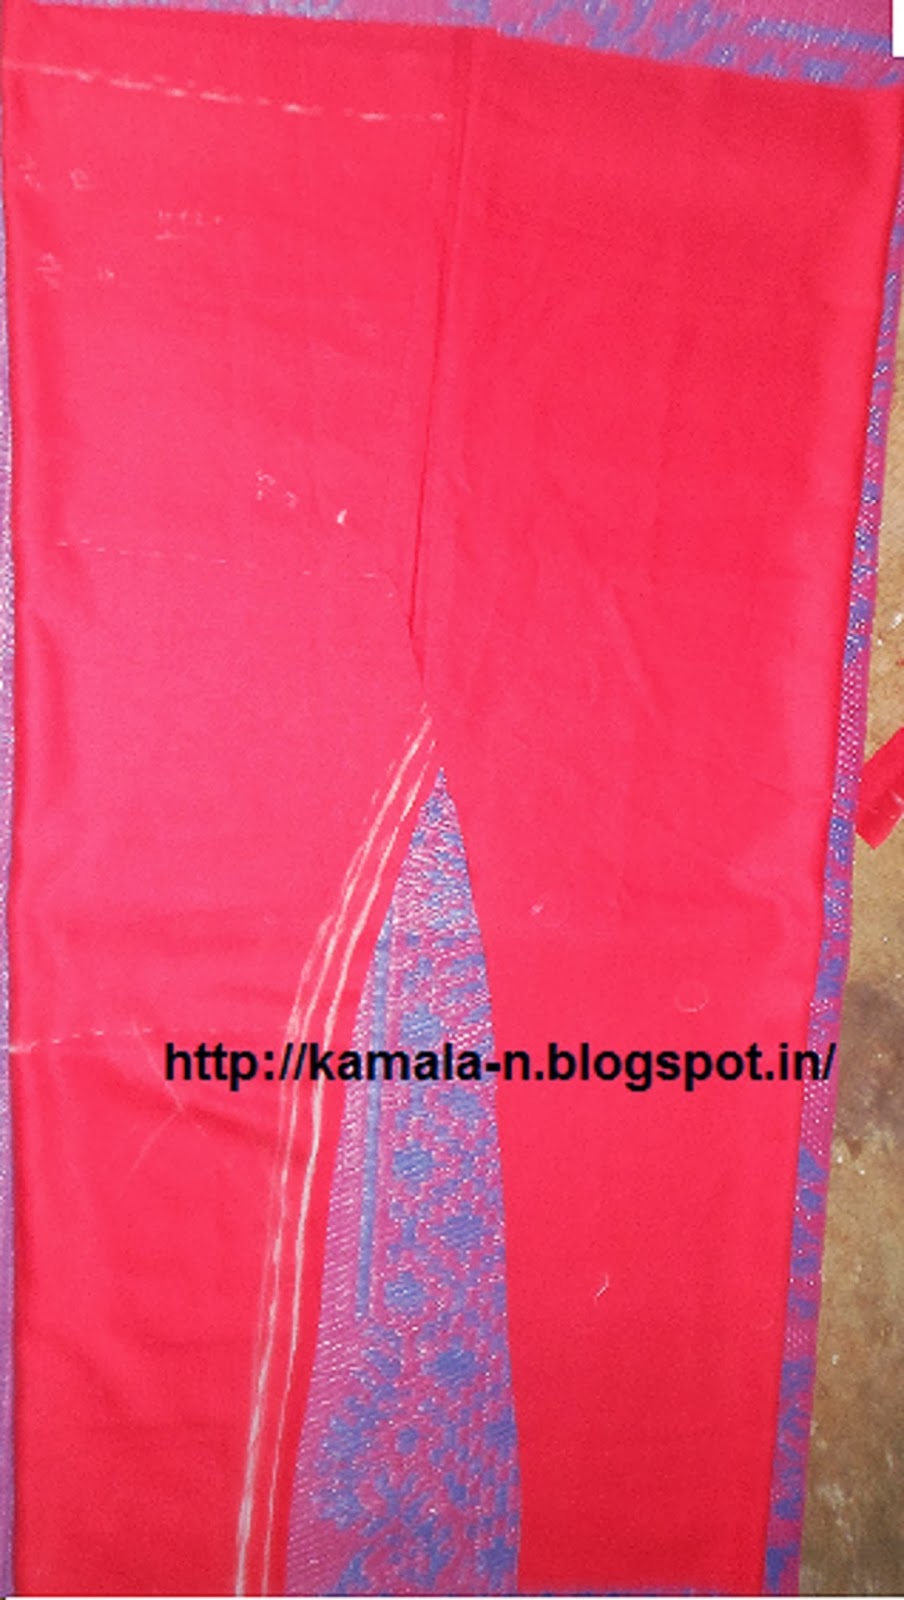
 After cutting the fabric you obtain this shape.


Attach the gore at the crotch point on the right side of the (both right sides are together)  one leg piece as fig.4  and attach another edge of the gore to another leg piece as i draw the line which indicates no 1 and 2 in fig. 5 then from there where the no 2 indicates you have to stitch both leg pieces together until top of edge. see fig 6, 7 and 8
fig 4
fig5
fig6
fig7
fig8
fig9
After attaching the crotch shape the legging looks as in fig 9,10
Sew the bottom folding first fold the edges by 1/2" and  turn them again by another 1/2"and sew  along the fold . The bottom fold is 1/2" width.
sew the edges of the leg piece together with 1/2" seam allowances from  one leg piece bottom edge  to another leg  piece bottom edge.
fig11
Now moving to the waist band ; you first fold the raw edge  to the wrong side of the casing by 1/2",   as in fig 11.
Again fold by casing  width which you desired  as in fig 12 and  stitch  around and leave 2" for insert the elastic as in fig 13.

fig11
fig12
fig 13
Fig 14 ,15 shows the  the elastic inserting the casing, pin the elastic one ending and insert the pin  and pushing it through  the casing


When you push the pin  inside the casing you will see that it makes more ruffle,push the pin until the elastic comes outside ,  stitch the both elastic edges together and stitch the casing open. 
I have stitched one line around over the elastic casing.  
  
fig 15


Finally the legging is over


Tuesday, March 12, 2013

How to make Leggings

Draft a  leggings pattern according to own measurements and sew for you or others.
It is very simple and does not take much time for cutting and sewing. I hope this tutorial will help you in  making your own leggings. you can sew for your kids also with their measurement. This  is simple legging.

Pattern Draft 
     
 The measurements that you need :-
  
   Seat -  (width)
   Length 
  Circumference of the ankle

 AB = CD = Seat/4 + 1.5 inch  or 2 inch
 AC =  BD = Length + 3.5 inch
 AH  = 3/4 inch
 JG =  Seat/3 ( Crotch )
AJ  = BK = 1.5 inch ( for belt )             
 CE =  BD = 1 inch ( for folding )
 DI = Half round of the ankle measurement + 1/2 inch (ankle)
 These measurements are along with the seam allowance. 
If you want little gathers you can add 4 to 5 inch to length.
Cutting 
Fold the cloth twice so as to obtain 4 layers according to the width and length measurements.
Mark the crotch length , from crotch point. Draw a line to connect to AB  which is marked 3/4 inch inside that is  "H".
Mark the ankle measurement and join the crotch to ankle by a curved line.
Cut along HG and the curve GI. After cutting, you will obtain a piece somewhat like this.
here is legging stitching .