Showing posts with label sew. Show all posts

Friday, November 20, 2015

How to Stitch an 'A'-line Kurti

This tuorial is on making an "A"-Line Kurti. It is very easy and the draft pattern is quite similar to that of a straight-cut kameez/kurti except for that it widens as we move down and has a flare.  


You can find the drafting in this tutorial. You should note that here, the width AB is (hip + 3"). Hip measurement would be as mentioned in the above tutorial (RS). Take extra 1" along the whole length as seam allowance.


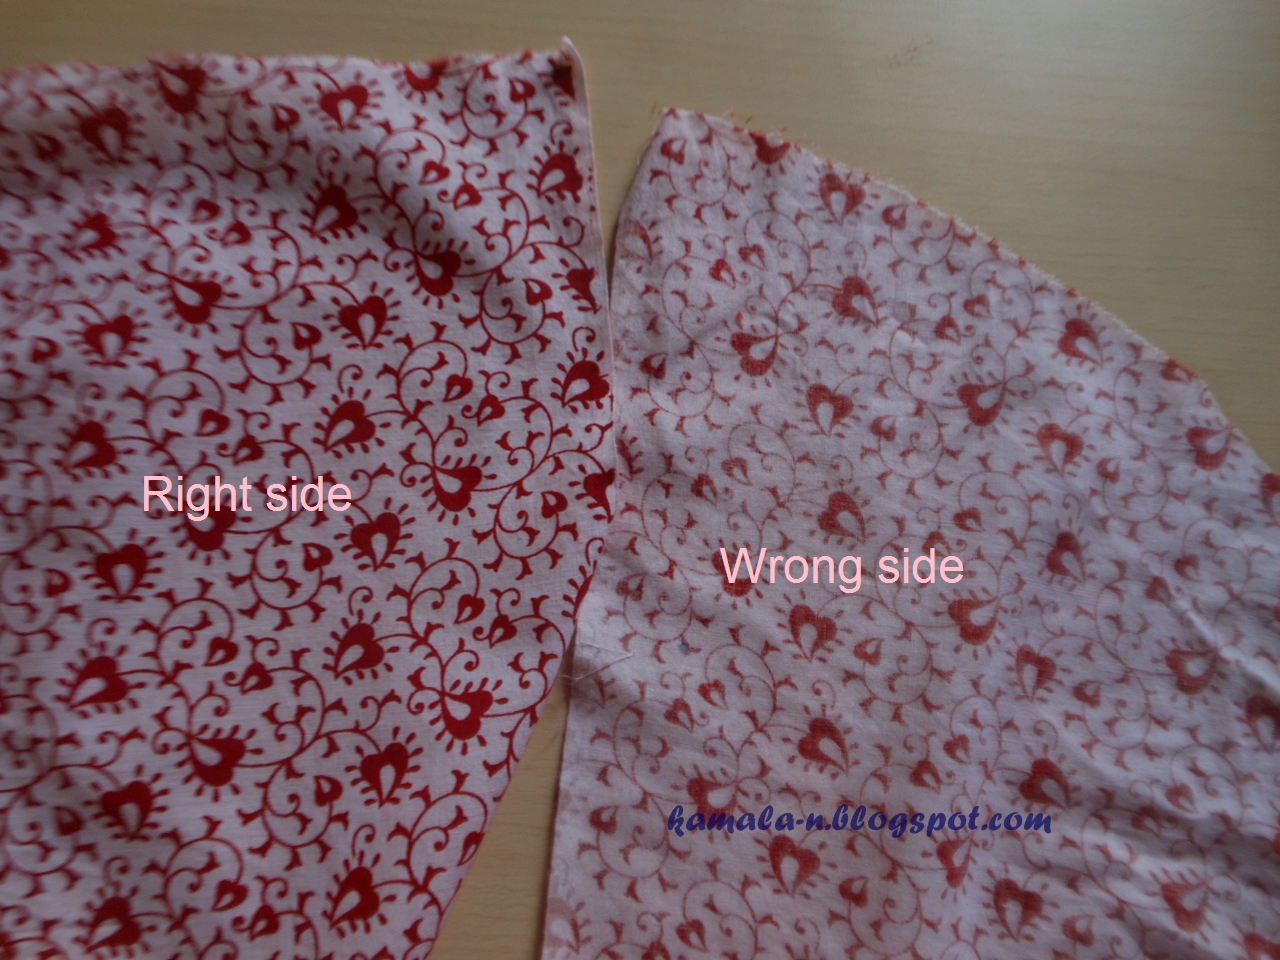
If you would like to give the bottom a curve shape as I've done, then you should mark C as  the midpoint of AB and also BD = 3". Join the points making a curve. YOu can therwise simply go with the straight pattern as it is also equally popular.


The edges of the sides can either be closed or left often as a slit. Further steps are similar to the one in the kameez sewing tutorial. 

Happy sewing!!

Tuesday, October 20, 2015

How to stitch a Flat-Felled seams


Everybody!! I'm here with yet another tutorial. So this post is  about Flat-Felled Seams.

Flat-Felled Seam keeps the raw edges hidden and allows them to lie flat along the seam allowances. Also, the seam will have a neat finish and the dress looks good on both sides (inside and out). Flat-felled seam includes a pair of stitch lines one of which is seen on one side and the other seam line on the other. So, it can be sewn inside or outside.

If you want to show the flat- fell seam on the wrong side of the dress, sew the right sides together.


 After sewing, press the seam open on both sides .


On one of the sides of the seam allowances, mark a line 1/2" half of the seam allowances (the dotted lines in the image below).


Trim only one side of the seam allowance where dotted . 


 Press the  untrimmed seam allowance over the trimmed allowance. Fold the pressed seam allowance under the raw edge of the trimmed seam allowance.


.

Then edge stitch close along the fold, such that  all the raw edges are inside. (as in above fig flat-felled seam  shows on the wrong side of the dress.)


The image above shows the right side of the dress.

If you want to show the flat-felled seam on the right side of the dress, then keep the wrong sides together and sew it. and follow the same method  as above said.


In  the above fig the flat-felled seam is shown on the right side of the dress.

Wednesday, October 14, 2015

How to sew Shoulder

Hello friends! Today, in this tutorial i'm going to teach how to sew shoulder for any garment. 

First finish the front neck line and then stitch the back neckline.  Attach the facing at top side as   picture 1. Don't enclose the edge of the facing, after joining the shoulder, you can stitch on your machine or hand hem.

fig 1


Keep the  back shoulder and front shoulder right sides together and keep the edges and sides coinciding. (see fig 2)


Fig 2

open the facing of the back neckline and keep in line with front neckline.Fig 3


Fig 3
 Turn the facing over the front neckline . Pin it and sew along the dotted lines fig 4

fig 4
  after joining the shoulder it should something like  fig 5
Fig 5

  Now  attach  the back neckline facing to neckline. The dotted line in Fig 6 indicates hand hem/ straight stitch on machine as you wish. Fig 6.
Fig 6
 you can use this method of sewing the shoulders for dresses and frocks and other garments.

Stay-Stitching tutorial


Hello everybody! Here i'm again with another tutorial in the series 'sewing techniques". After having learnt how to do top-stitching, under-stitching we will now see how to stay-stitch.


It is best to stay stitch soon after cutting the neckline. It is stitched only on a single layer of fabric. It prevents the stretching of the curved or angled edge as they are cut across the bias. The bias cut fabric is more stretchable and eventually they lose its shape. Stay stitch is best for retaining the neckline shape.

Stitch the regular length along the curve or bias within the seam allowance. These seams are not visible on the  right side of the garment.

If you Stitch  the neckline, then it is good to start from one shoulder to  the center of the neckline,  and turn the piece and then  start again to sew from the other shoulder to the center of the neckline. Or you can also start from the center and sewing to one shoulder, turn the piece again and sew the center to shoulder.


Top stitching

Top stitching  is nothing but a stitch line on the right side of the garment. It is sewing a single row or multiple rows for a functional or decorative purpose.

 It holds the  facing or lining in place and keeps the edge flat. Do "under stitching" before top  stitching.. Lets get started.

 Press the facing inside and  start stitching on the   right side of the garment  nearer to the edge or about 1/4 away from the edge. It would be visible on the garment, so make sure stitching lines look neat and perfect.


Tuesday, October 13, 2015

How to stitch a neckline with facing

 Facing means  a piece of material sewn inside of the garment,especially at the neck and armholes to strengthen it. In this tutorial, I'm gonna tell you how to stitch a neckline with facing.

Firstly, stay stitch around the neckline immediately after cutting the neckline. Now, place the neckline on the folded fabric as in Image 1.


Image 1
  Mark along the neckline carefully as in Image 2.

Image 2

Mark  extra 1 1/2" from the neckline towards outside of the neckline (that is "RR")  PP is original neck line and P R is the width of the neckline facing (image 3).

Image 3
cut the neckline facing (both along RR and PP) Image 4

Image 4

After cutting the neckline facing, stitch the outer side of the edge by folding 1/2"inward and sew along the shape to prevent the threads coming out from here and there along the edges.
Image 5 neckline facing

Lay the right side of the neck line flat, Place the facing on top (,right side to right side). Match the facing around the neckline edges and pin the facing in place (.Image 6)
  

Image 6
Stitch  a seam  at  1/2" in from the edge along the neckline edge . Take care that the seam line follows the curve.   When  stitching  the neckline curve,  stitch slowly and  smoothly, raise the pressure foot and turn  the fabric through slightly  and lower the pressure foot and continue stitching.  Be careful and don't straighten the fabric otherwise it will lose its shape. Clip the seam allowance around the neck  edge with intervals. but don't cut the seams as Image  7
,

Image 7

 pressing the seam allowance towards facing, understitch and  turn the facing towards inside of the neckline. image 8


Image 8
After turning the facing,  topstitch the edge along the neckline image 9 .


that's it!! u re done!!!!  
TIP: You can make necklines of various shapes with this technique, not just a circular one.
        You can also use this technique and add a border to your neckline line as done in this tutorial

Please share ur experiences in the comments below.. :) Thanks everybody!!